Fixing a Leaky Faucet
Introduction
Tools and Materials You’ll Need
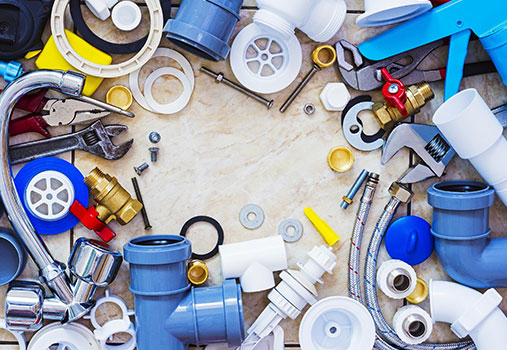
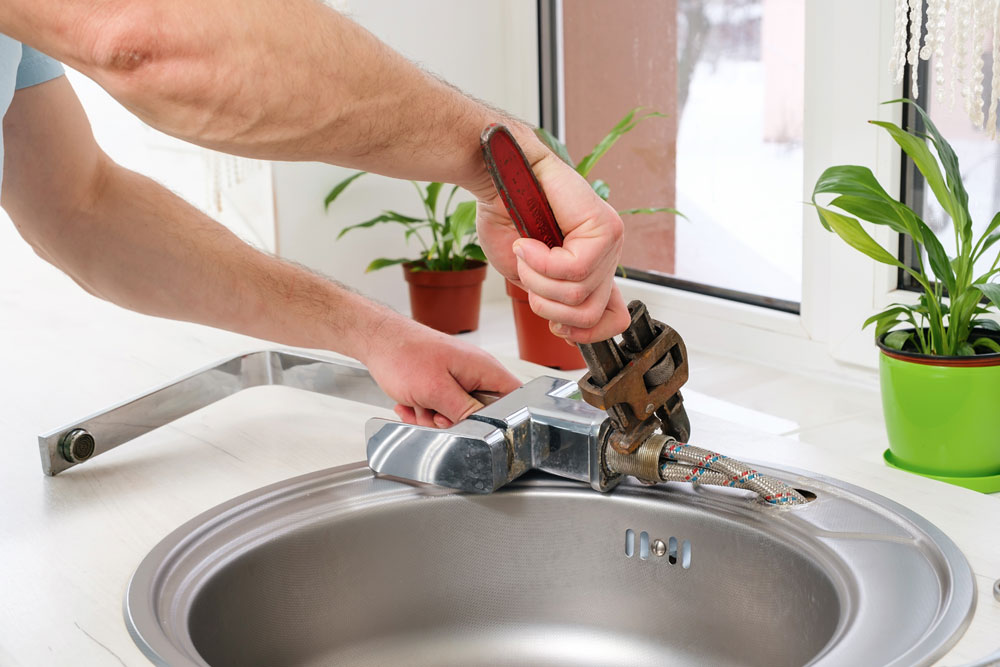
Adjustable wrench
Screwdriver (flathead and Phillips)
Replacement parts (O-rings, cartridge, or faucet repair kit—depending on your faucet type)
Plumber’s tape
Bucket or towel
Step 1: Turn Off the Water Supply
Before you begin, make sure to turn off the water supply to the faucet. You can usually find the shut-off valves under the sink. Turn them clockwise to close. If there are no shut-off valves, turn off the main water supply for your home. Open the faucet to drain any remaining water in the lines..
Step 2: Plug the Drain
Use a plug or a towel to block the drain. This will prevent any small parts from falling into the drain and getting lost during the repair.
Step 3: Remove the Faucet Handle
Use a screwdriver to remove the screw securing the faucet handle. Depending on your faucet type, you might need to pry off a decorative cap to access the screw. Once the screw is removed, gently lift off the handle.
Step 4: Disassemble the Faucet
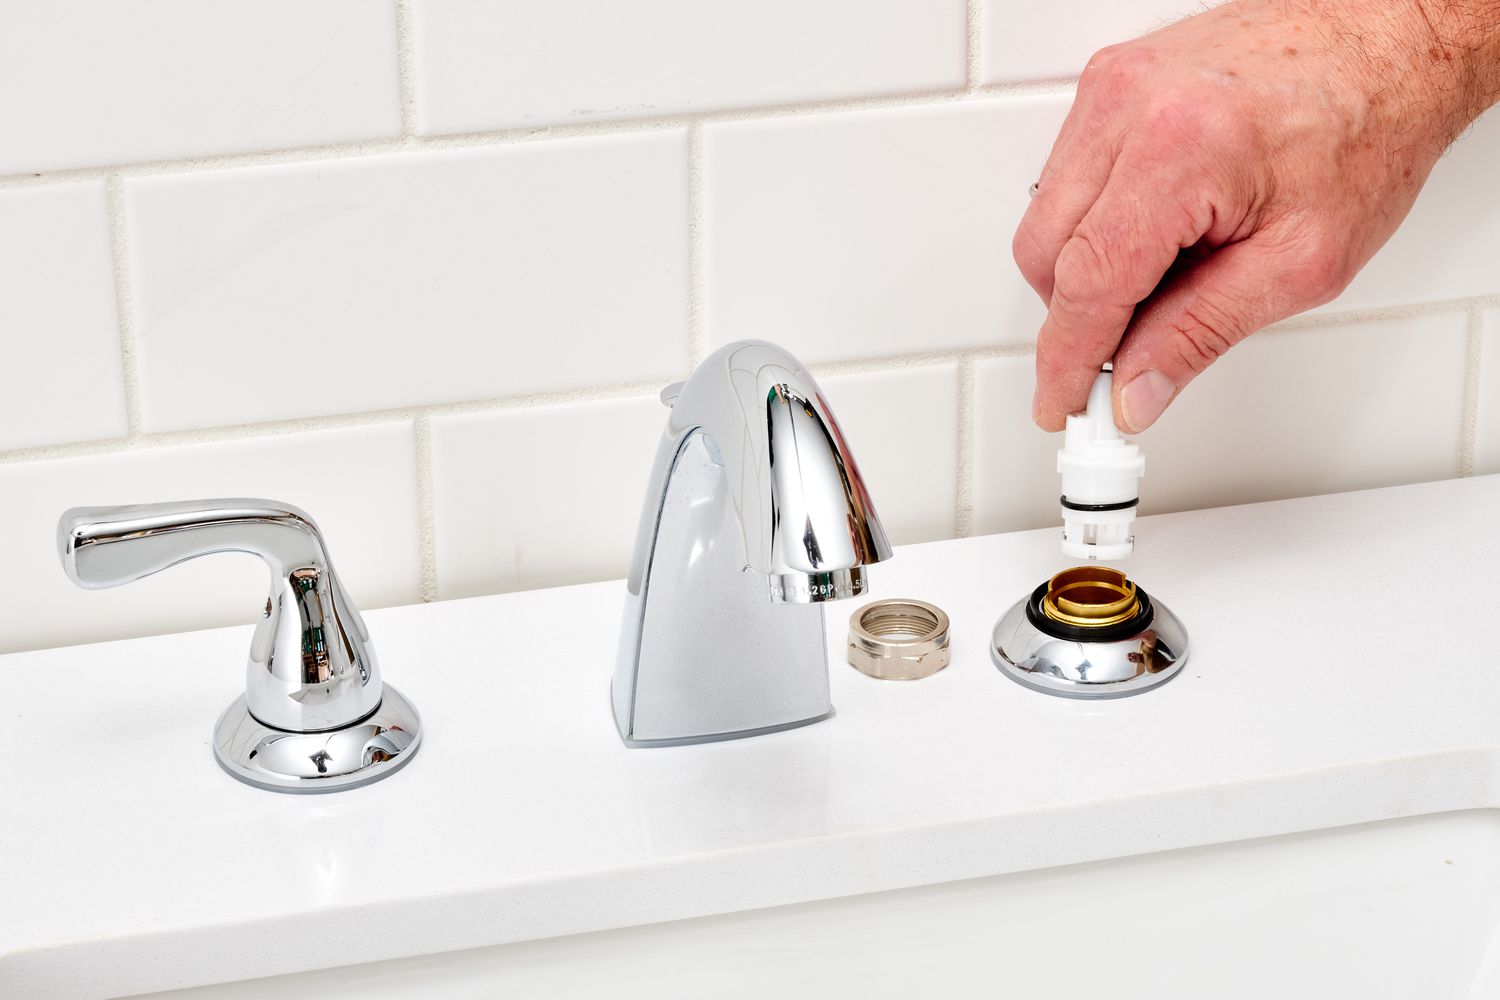
The method for disassembling the faucet will vary depending on the type of faucet (compression, ball, cartridge, or ceramic disc). Generally, you’ll need to:
Compression Faucets: Unscrew the packing nut and remove the stem.
Ball Faucets: Remove the cap and collar, then lift out the ball assembly.
Cartridge Faucets: Pull out the cartridge after removing the retaining clip.
Ceramic Disc Faucets: Remove the escutcheon cap and pull out the ceramic disc cartridge.
Step 5: Inspect and Replace Parts
Examine the parts for wear and tear. Commonly, the source of the leak is worn-out O-rings or washers. If these parts are damaged, replace them with new ones. For cartridge or disc faucets, you may need to replace the entire cartridge or disc assembly.
Step 6: Reassemble the Leaky Faucet
Once you have replaced the faulty parts, reassemble the faucet by reversing the disassembly steps. Ensure all parts are securely in place and that there are no leftover pieces.
Step 7: Turn On the Water Supply
Remove the drain plug or towel and turn the water supply back on. Slowly open the faucet to check for leaks. Let the water run for a minute or so to ensure everything is functioning correctly and that the leak is fixed.
Step 8: Test the Leaky Faucet
Test the faucet by turning it on and off a few times. Check for any signs of dripping or leaks. If the faucet is still leaking, double-check the assembly and make sure all parts are properly installed.
Step 9: Clean Up Leaky Faucet
Wipe down any water spills and ensure your workspace is clean. Store your tools and any leftover parts in a safe place for future use. If you notice any leaky faucets, make sure to address them to avoid further issues.
Tips for Success Leaky Faucet:
Identify Your faucet type: Knowing whether you have a compression, ball, cartridge, or ceramic disc faucet will help you choose the right repair parts for your leaky faucet. Use Quality Parts: Always use high-quality replacement parts to ensure a long-lasting fix for your leaky faucet. Consult a Professional: If you’re unsure about any step or if the faucet is still leaking after your repair, it may be best to consult a professional plumber. By following these steps, you’ll be able to fix your leaky faucet and enjoy a drip-free home. For more home repair tips and tricks, stay tuned to our blog!

